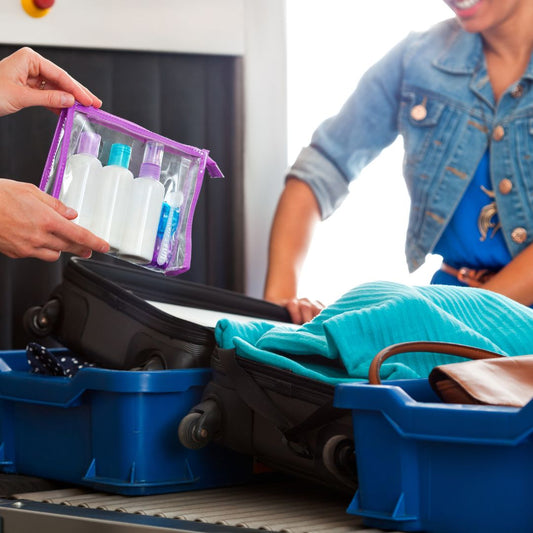
How to Inspect Your First Aid Kit

Inspecting a first aid kit is a condition check, not a head count. You look at each item and ask whether it still works. Is it there? Is it in date? Is the wrapper sealed? Is it clean? A full kit can fail all four.
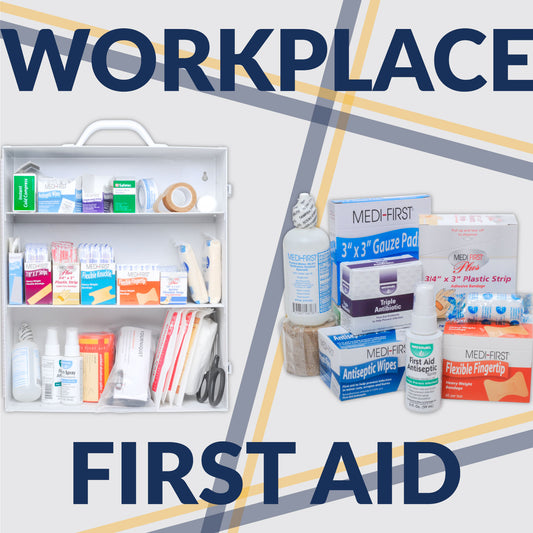
This is part one of a three-part series, followed by how to sanitize your kit and how to restock it. We use a standard 4 shelf industrial kit as the example here, but the steps work on any kit you have on the wall.
Key Takeaways
- An inspection checks condition, not just count. A shelf can be full of supplies you shouldn't use.
- A sealed wrapper is part of the product. A torn gauze package is no longer sterile, whatever the date says.
- No rule sets the interval. OSHA and ANSI ask that supplies stay usable. How often you check is your call.
- Finish with a reorder list. An inspection that ends in a mental note is one you'll repeat next month.
What does a first aid kit inspection involve?
Four steps, in order. Damage first, then dates, then usage, then organization. Work one shelf at a time so nothing gets missed.
The order matters. Pulling damaged items first clears the shelf. Checking dates second tells you what to reorder. Reviewing usage third tells you why. Organizing last puts the kit back in a state the next person can use.
Step 1: How do you spot unsafe or damaged supplies?
Look for anything soiled, crushed, damp, or opened.
- Opened packages. Treat any opened item as used, even if some is left. An ointment tube with a cap is still contaminated after one use.
- Torn wrappers. Gauze, dressings, gloves, and CPR barriers stay sterile only while sealed. A tear ends that, whatever the date on the box says.
- Stains and dust. A dusty shelf means the kit sits open to the air. Note it, because part two of this series covers the cleaning.
- Dull or rusted tools. Scissors and tweezers don't expire. They do go blunt and go missing.
Single-use packaging solves most of this. It costs a little more per item, and it takes the guesswork out of what is still safe to use.
Step 2: How do you check expiration dates?
Check every item, not a chart. Shelf life is set by the maker and printed on the product.
- Open the box. An outer carton may carry one date while the packets inside carry another. Check both.
- Rotate your stock. Put new items behind old ones. Use the oldest first. This is called FIFO, or first in, first out.
- Write down the earliest date you find. That date sets your next review.
A few items start a shorter clock once they are opened, and eyewash is the clearest case.
Step 3: What does tracking usage tell you?
This is the step most people skip, and it's the one that pays.
Note what was used since the last check. Over a few months a pattern shows up. Lots of finger bandages points to a cutting hazard. Lots of burn gel points to a heat source. Lots of eyewash points to a splash risk.
That tells you two things: what to stock more of, and where to look on the floor. A supply pattern is often a process problem wearing a different hat.
Step 4: Where should everything go?
Give every item a fixed spot and keep it there.
- Group like with like. Bandages together. Burn care together. Eye care together.
- Put common items at eye level. Someone reaching for a bandage is often doing it one-handed.
- Don't skip the door. The door pouch holds the smallest items and gets checked the least.
- Label the shelves. A label costs nothing and saves a search.
Consistent placement does more than look tidy. It makes every inspection after this one faster, because you can see a gap on the shelf instead of hunting for it.
How often should you inspect your kit?
More often than most places do.
OSHA's rule says adequate first aid supplies must be readily available. It points to the ANSI/ISEA Z308.1 standard as guidance on what a kit should hold. Neither one names a number of days. Anyone who tells you the law requires a monthly check is filling in a blank nobody filled.
MFASCO recommends monthly for busy sites and quarterly for quiet ones. Always check right after an incident. Those are starting points, not rules.
Your own numbers are better than ours. Look at your last two or three inspections and count what was missing each time. If the kit runs short before you get back to it, check more often. If the same items keep coming back untouched, check less often and order less.
How do you turn the inspection into a reorder?
This step decides whether the inspection was worth doing.
- Start from the kit's own refill list. Every MFASCO workplace kit has a Refill This Kit list on its product page. It shows what belongs in that kit at that size. That list, not the refill pack, is your template. A pack is a bundle someone assembled. The list is the spec.
- Scan the QR code. MFASCO-branded kits carry a QR sticker. Scan it and you land on the refill list for that kit. No app, no account, no vendor portal. If your cabinet came from somewhere else, open the matching kit page instead. The refills still fit.
- Save it to a reorder list. The Reorder List keeps your items in one place, so the next order takes a minute instead of an afternoon. You can schedule a reminder email from the same page.
- Or use the visual tool. ReStockKit shows your kit as a picture and lets you click what you need. It covers select wall-mounted cabinets, so check whether yours is there. It prints a checklist too.
- Order items, not packs, for a routine cycle. Four items missing means four items ordered. Bandages, antiseptics, gauze and tape, and medications are the usual gaps.
- Order a complete refill pack only for a reset. That means a first purchase, a switch from another supplier, or a kit nobody has touched in a year. It isn't the monthly order. Treating it that way wastes money and fills your shelf with items that expire before you use them.
Some suppliers build a closed loop. The cabinet only takes that vendor's inserts, tracked in that vendor's system. Refills that fit any standard wall-mounted kit avoid that problem. If you need something the standard lists don't cover, Make-A-Kit builds a custom one.
Here's the part a supplier isn't supposed to say. If the same items keep coming back unused at every inspection, you're carrying too much. Order a smaller quantity. Buy fewer packs. The kit should match what your site actually uses, and that number is usually lower than people guess.
What should you write down?
Keep one record per kit. It takes a single line, and it's the thing that makes the next inspection easier than this one.
- Date inspected. So the next person knows when.
- Earliest expiration found. This sets your next review date.
- What you reordered. This is your usage history, and it's what makes step 3 work.
A shared sheet is enough, and nobody needs software for this. Name a role rather than a person, so the job stays put when someone moves on. Our restock hub collects the tools in one place if you'd rather not bookmark four pages.
MFASCO has sold workplace first aid supplies since 1966. We started as Michigan First Aid Company, serving manufacturers around Detroit. We've been helping people keep kits stocked ever since.
Contributing Expert

Mike Brinker
Mike Brinker has been working in the first aid industry for over 35 years. He has worked with thousands of businesses,groups, and organizations to provide a healthy and safe work environment. Mike helped create “Make-A-Kit”, the internet's only online first aid kit creation tool. He has also authored many helpful first-aid and safety-related resource articles found at the MFASCO Learning Center.
Top Products
-

Firstaid Kit 4 Shelf W/Fill Complete No Logo
Out of stockRegular price $282.06Regular priceUnit price per$331.84Sale price $282.06 -
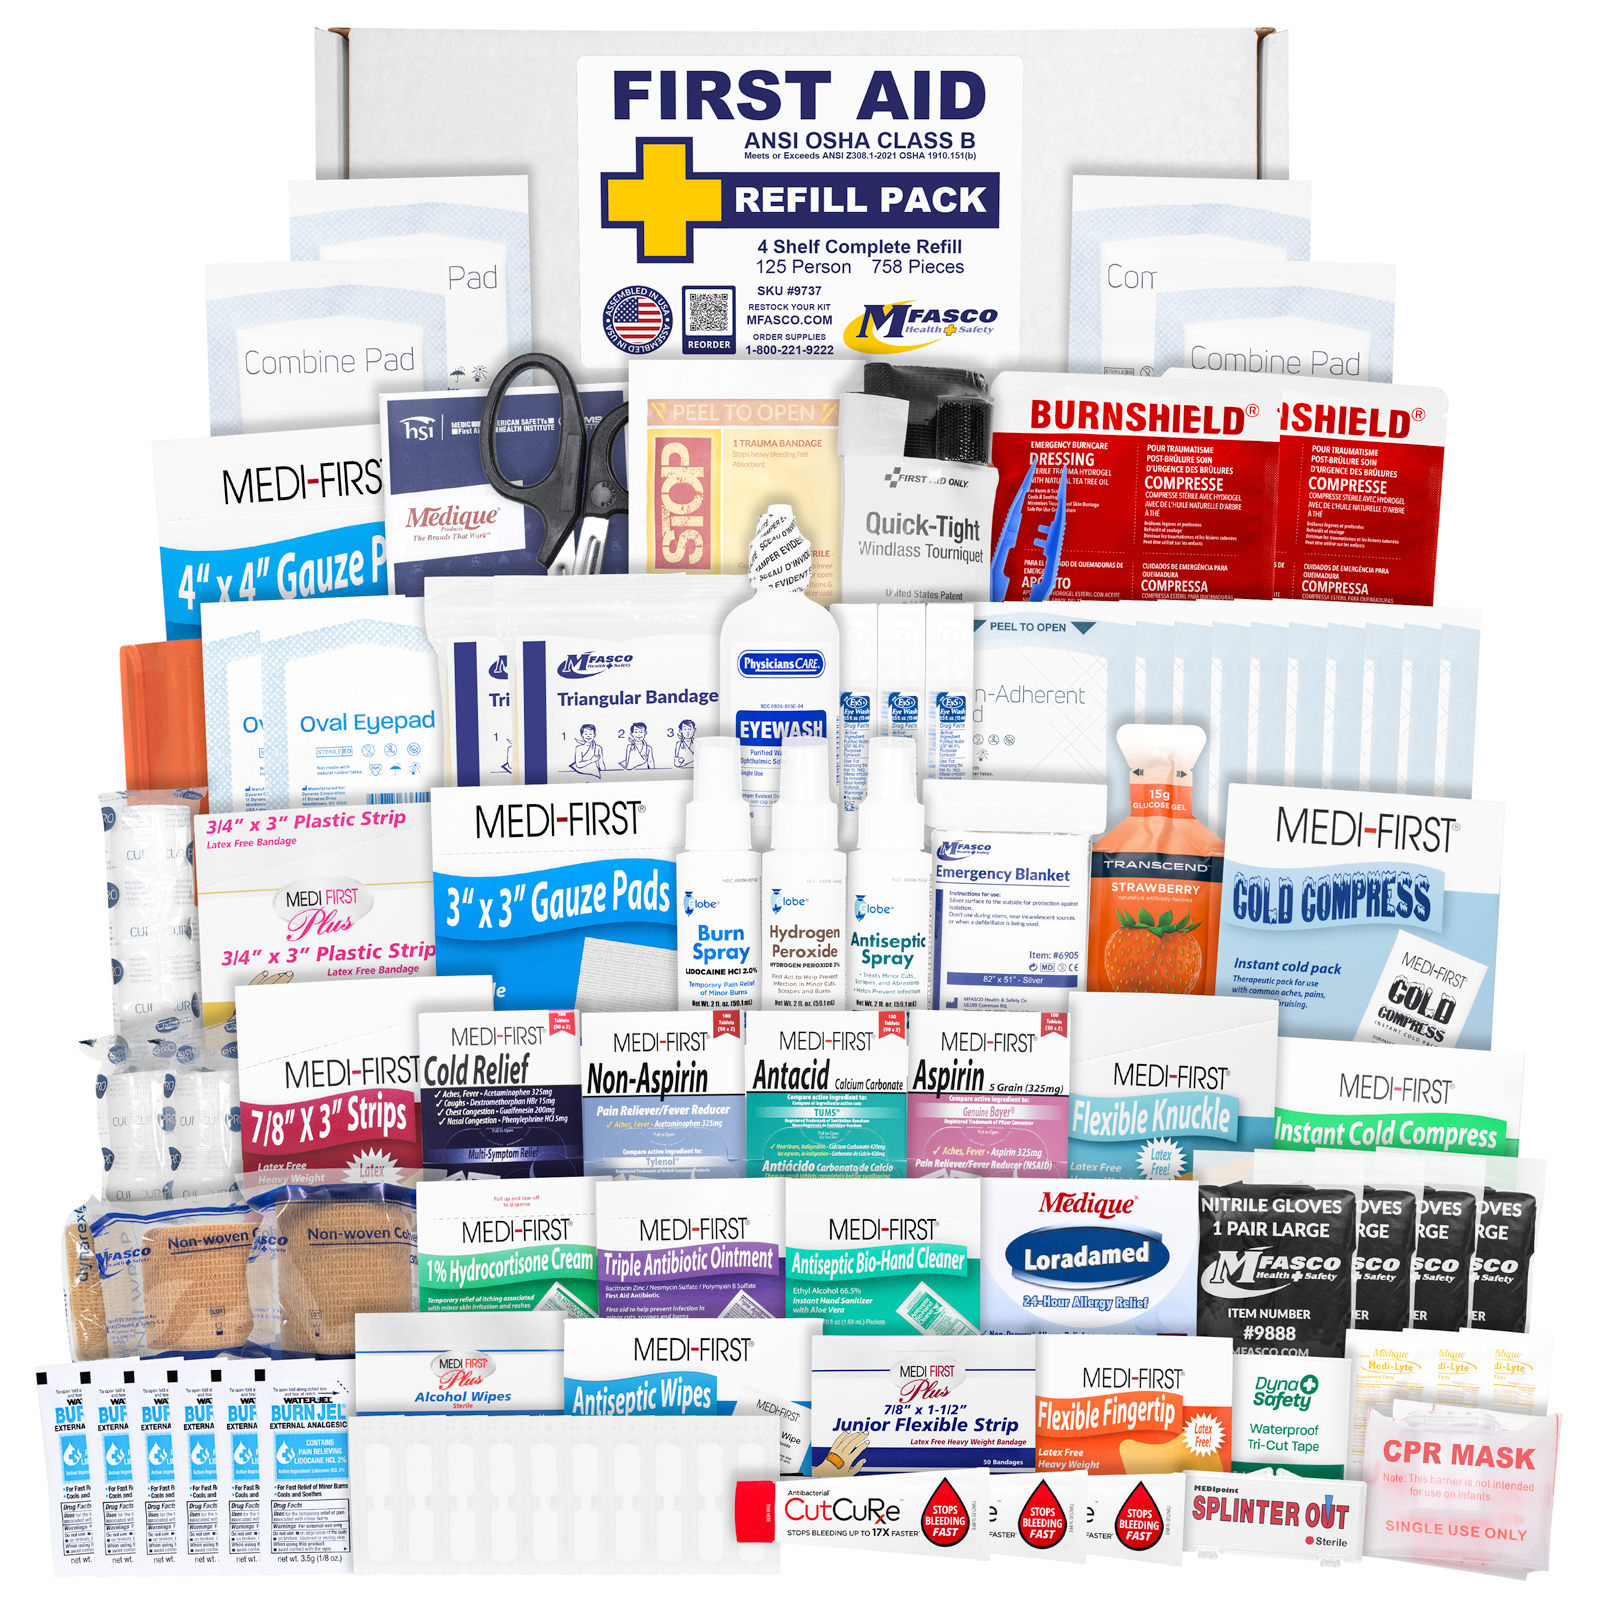
Large 4 Shelf Kit Refill With Medications 758 Piece
Out of stockRegular price $193.83Regular priceUnit price per$228.04Sale price $193.83 -

4 Shelf Metal Workplace First Aid Kit, Class B No Medications
Out of stockRegular price $250.00Regular priceUnit price per$302.52Sale price $250.00 -
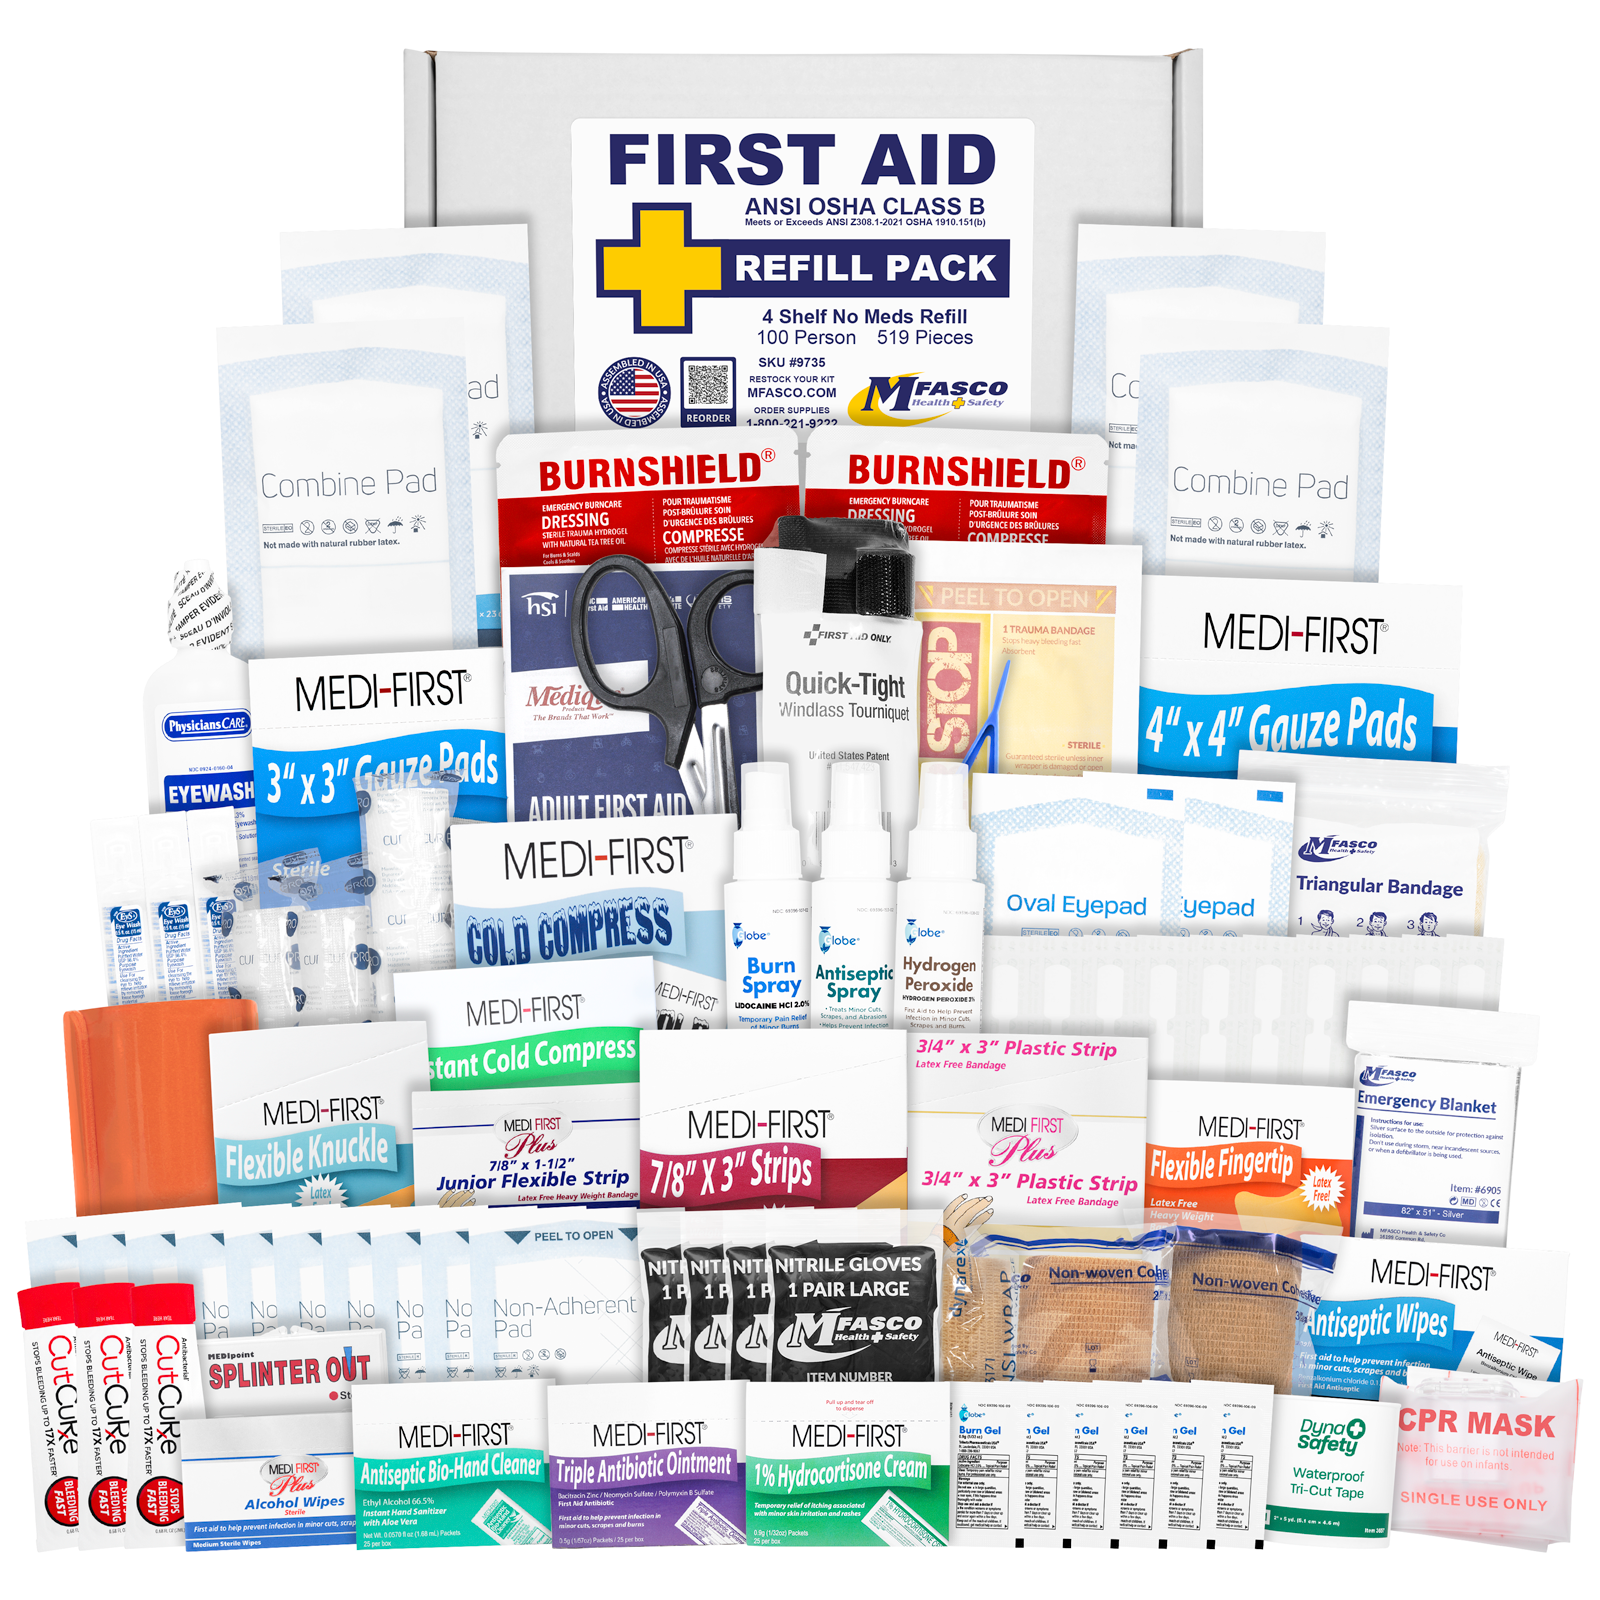
Large 4 Shelf First Aid Kit Refill No Medications 519 Piece
Out of stockRegular price $116.99Regular priceUnit price per$200.95Sale price $116.99