How to Put On a Fingertip Bandage (Step-by-Step Guide)
How to Put On a Fingertip Bandage
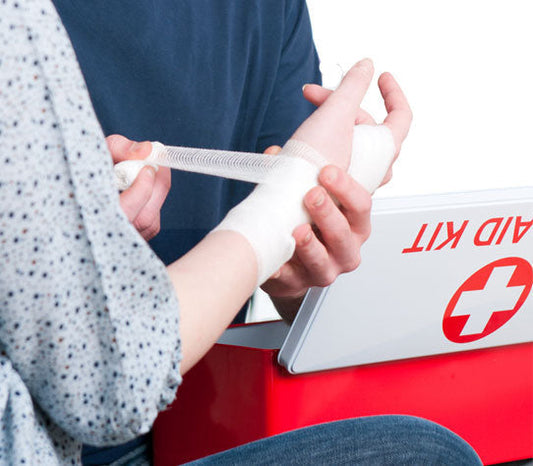
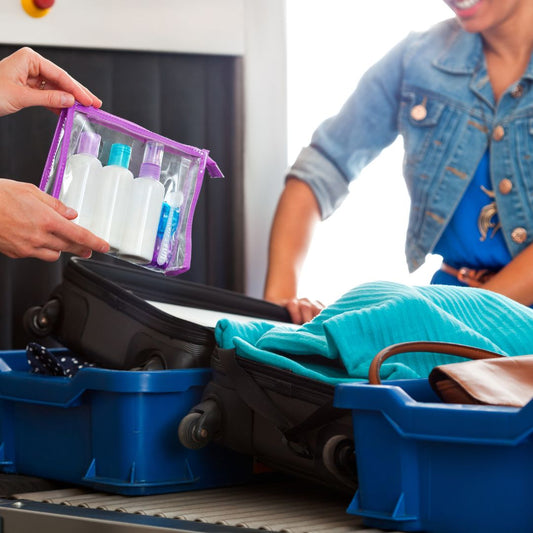
Small cuts on fingertips can be painful and hard to cover. A fingertip bandage—shaped like an hourglass—is designed to wrap and protect the end of your finger so it stays covered while you work, type, or play. Below we’ll show you the simple, correct way to apply one, plus a quick video demo.
Why Choose Fingertip Bandages?
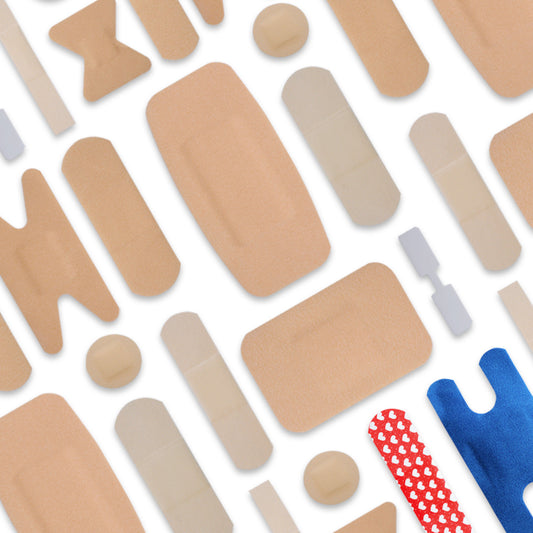
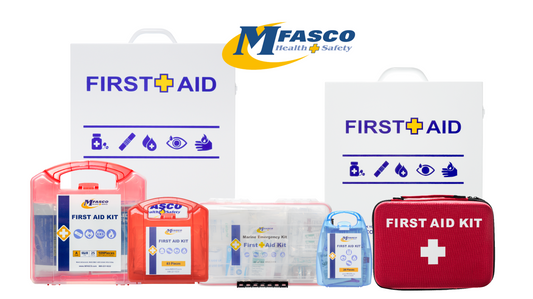
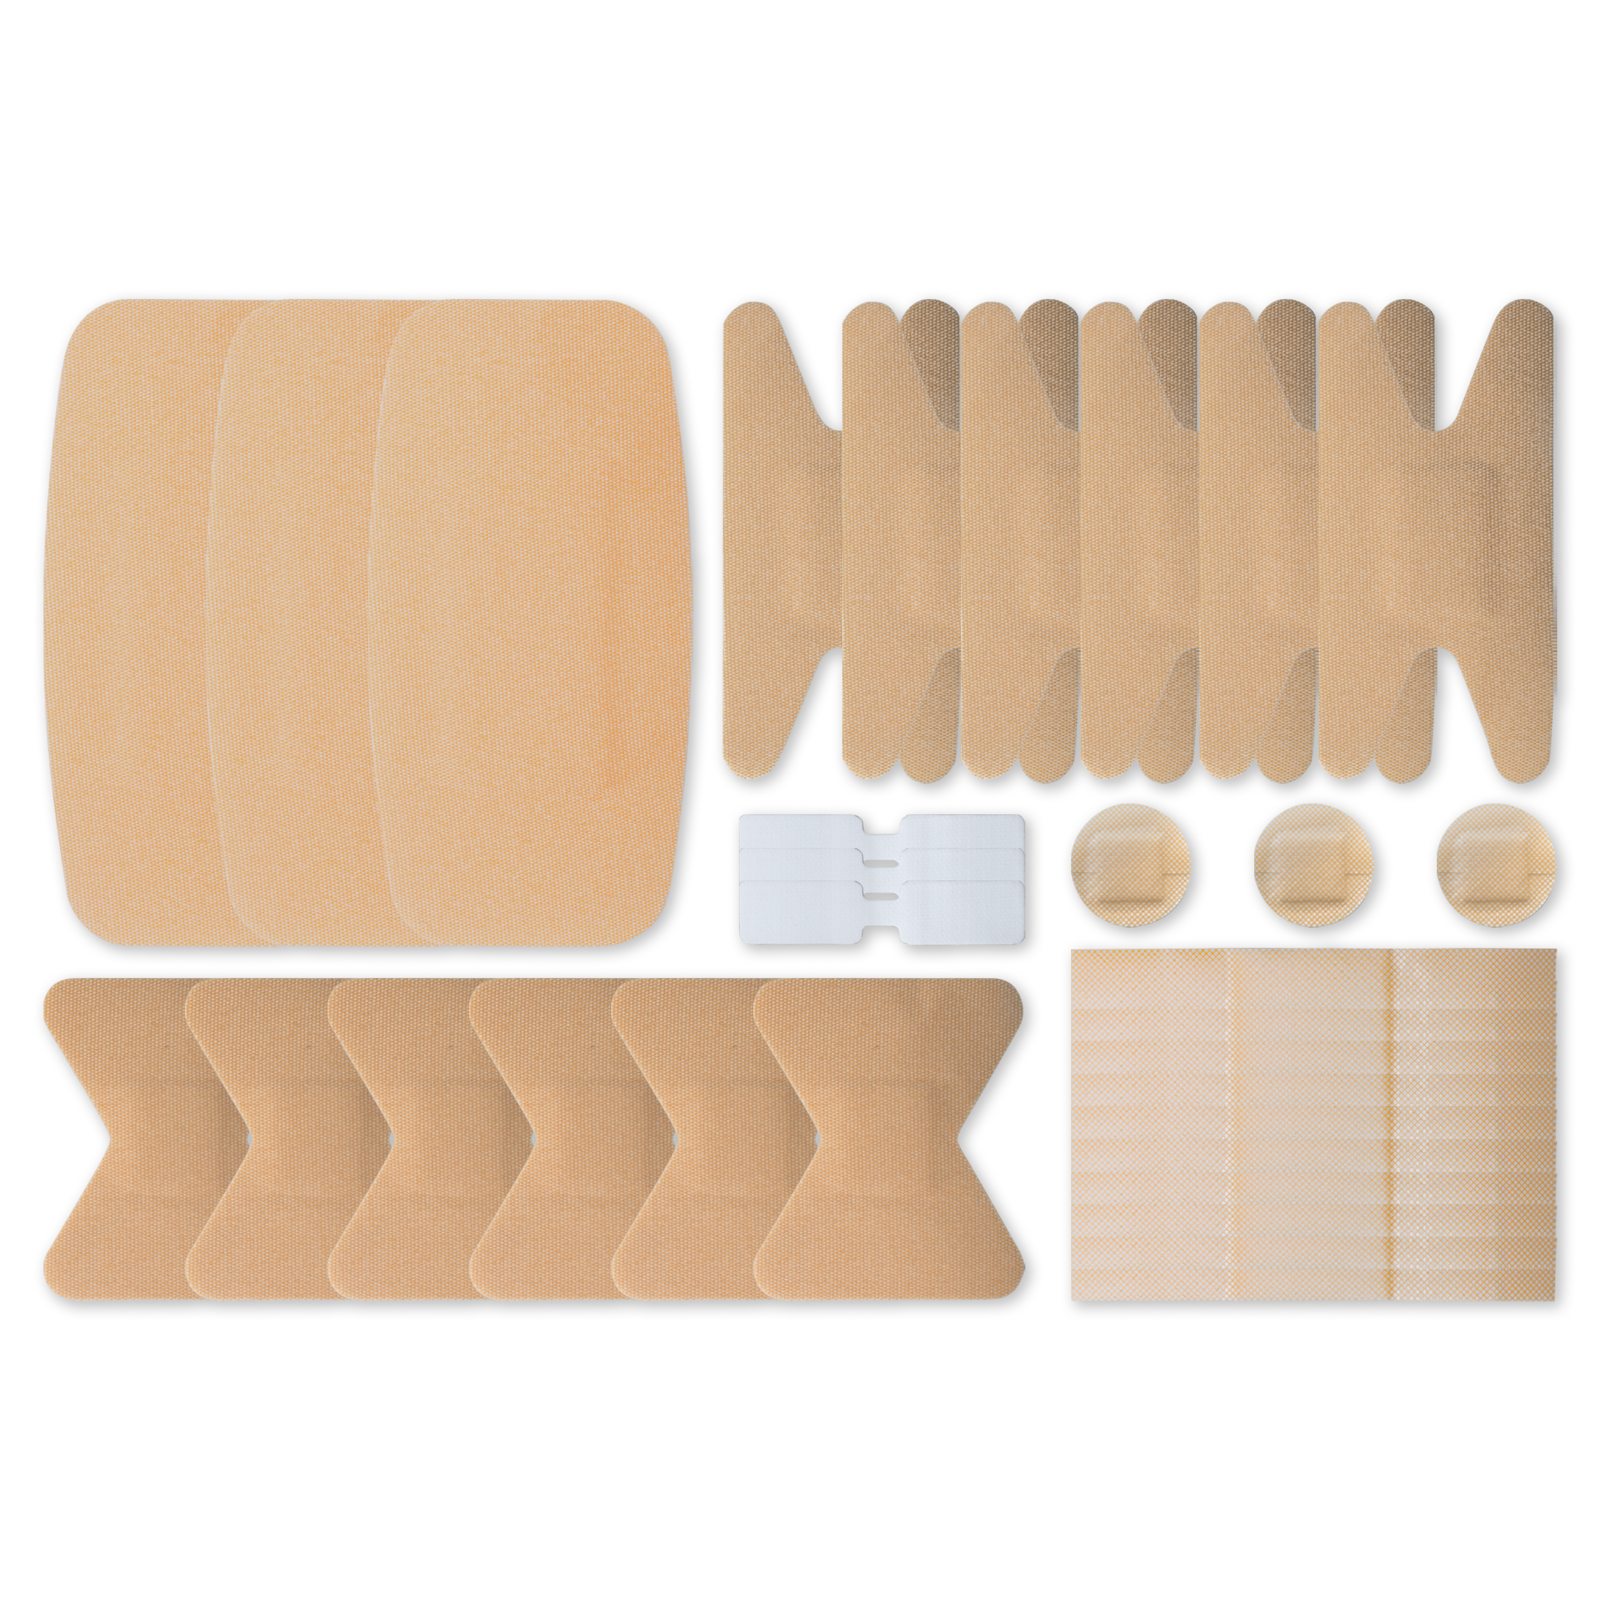
Unlike standard adhesive bandages, fingertip bandages have “wings” that wrap over and around the fingertip. This shape helps the bandage flex with movement, stay put longer, and keep the gauze pad sealed over the wound. MFASCO carries multiple options—hospital-grade Coverlet, White Cross, Medi-First, and Band-Aid brand—so you can stock your kit with the fit and fabric you prefer.
Before You Begin
- Wash hands and clean the wound with mild soap and water.
- Pat dry with sterile gauze.
- Apply a thin layer of antibiotic ointment (optional) to help prevent infection and keep the pad from sticking.
How to Apply a Fingertip Bandage in 6 Steps
- Open the sterile wrapper. Avoid touching the gauze pad.
- Peel one backing. Expose the first adhesive “wing.”
- Anchor on the nail side. Place the wing on the fingernail side and adhere to clean, dry skin.
- Peel the second backing. Adhere the other wing on the fingertip (pad) side.
- Wrap over the fingertip. Fold the center pad over the end of your finger so the gauze fully covers the cut.
- Seal the remaining wings. Wrap the last adhesive sections upward on each side to lock the bandage in place.
Tip: Press along all edges to secure adhesion. Replace the bandage if it becomes wet, dirty, or loose.
Video: Fingertip Bandage Application
This video demonstrates each step: disinfecting, anchoring the first wing, wrapping the pad over the fingertip, and sealing the remaining wings.
Common Mistakes to Avoid
- Skipping cleaning: Not washing the wound increases infection risk.
- Touching the gauze: Can contaminate the sterile pad.
- Loose wrap: If the pad doesn’t wrap over the tip, it won’t protect as you flex and grip.
- Wet bandage: Replace any bandage that becomes wet or dirty.
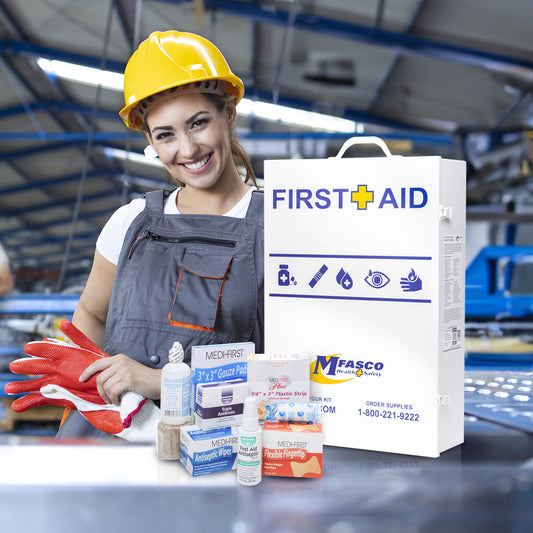
Shop Fingertip Bandages & First-Aid Supplies
Stock your kit so you’re ready for the next fingertip cut:
Contributing Expert

Mike Brinker
Mike Brinker has been working in the first aid industry for over 35 years. He has worked with thousands of businesses,groups, and organizations to provide a healthy and safe work environment. Mike helped create “Make-A-Kit”, the internet's only online first aid kit creation tool. He has also authored many helpful first-aid and safety-related resource articles found at the MFASCO Learning Center.
Top Products
-
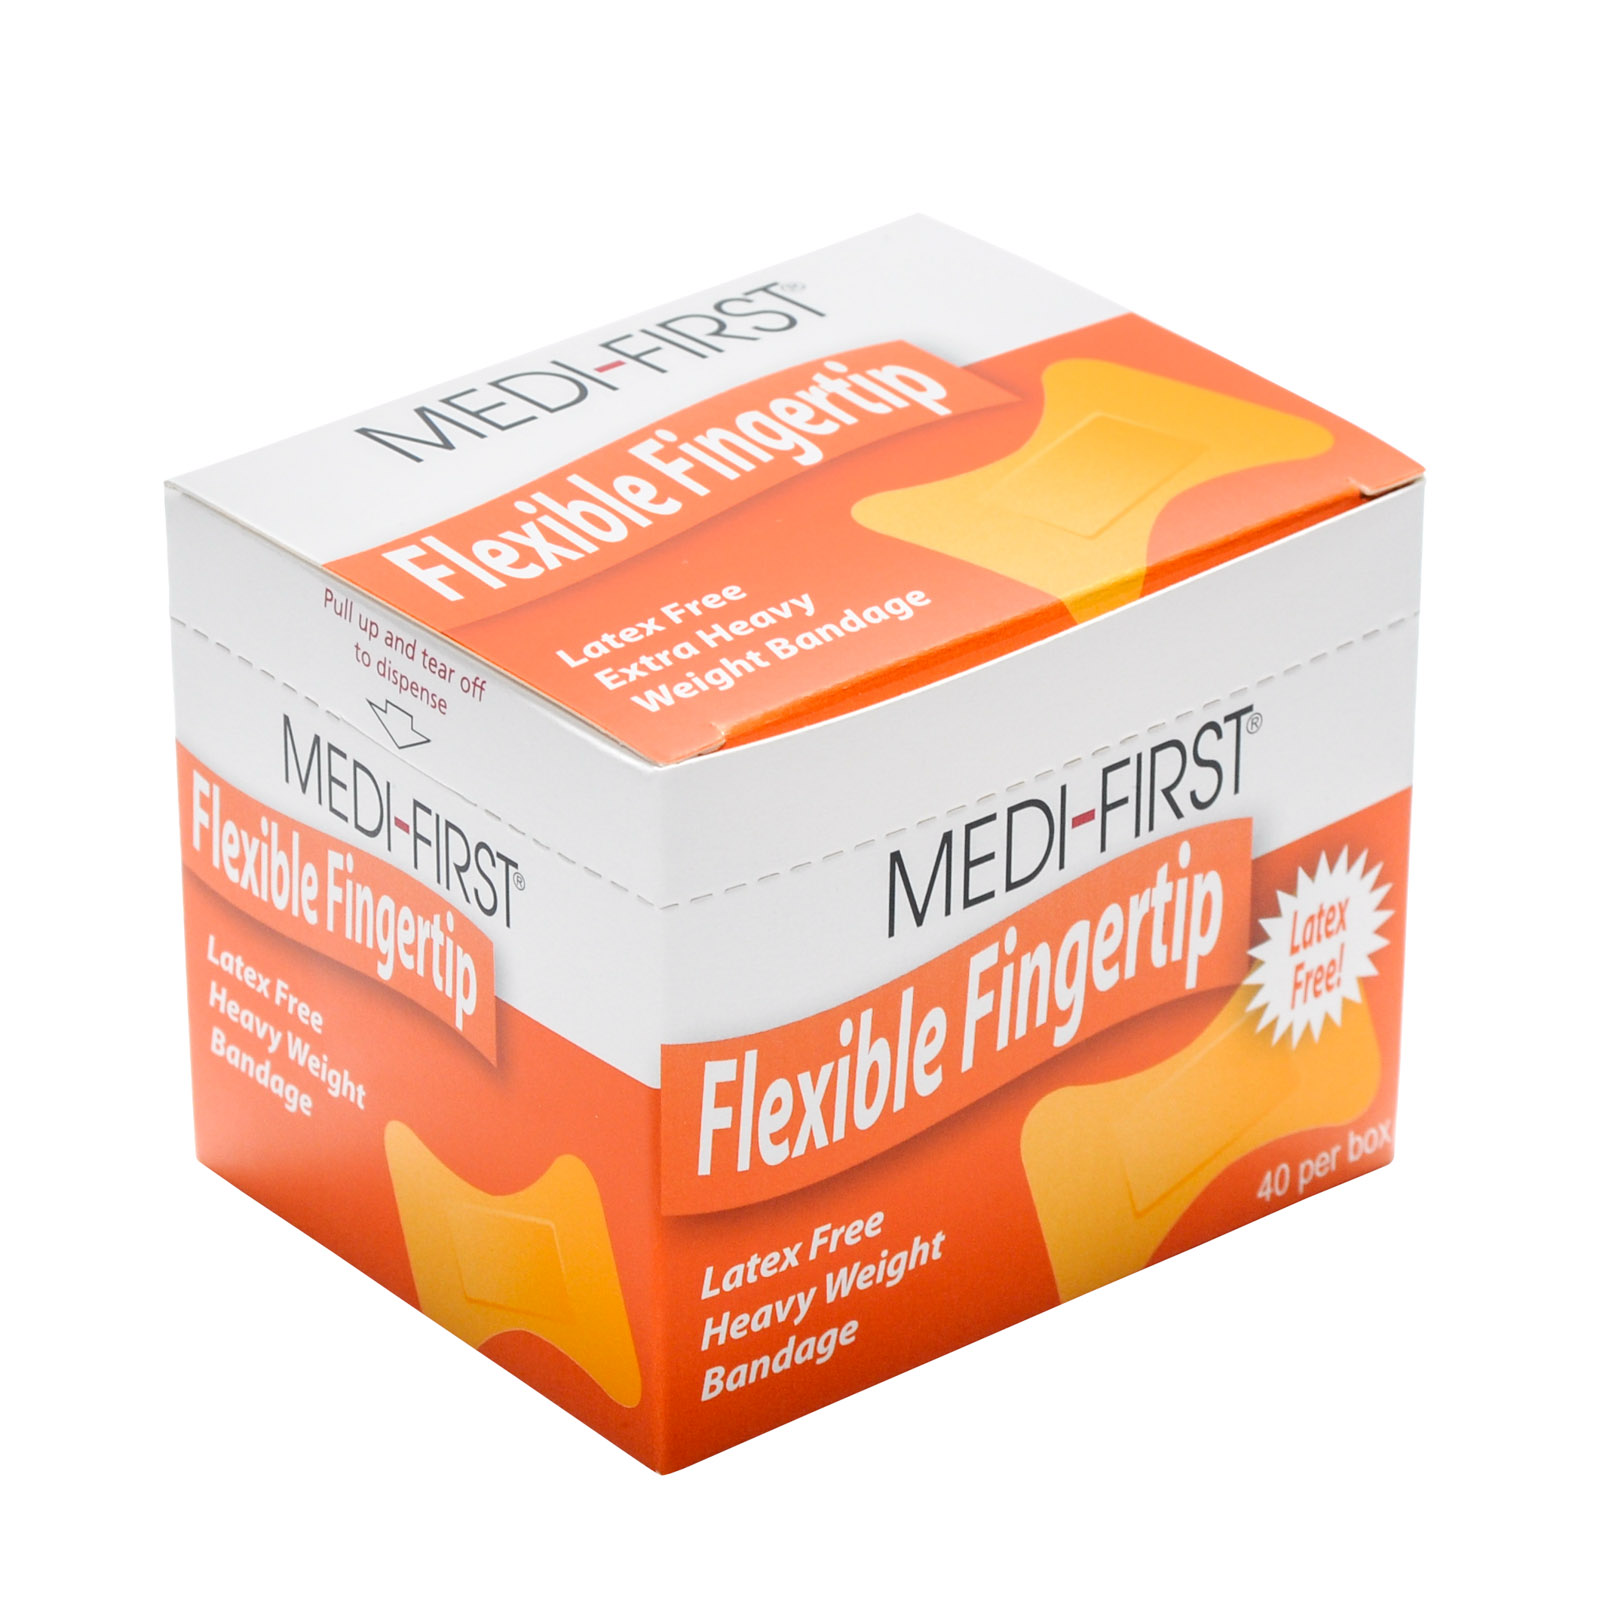
Medifirst Heavy Weight Cloth Fingertip Bandages 40/box
Out of stockRegular price $6.83Regular priceUnit price per$8.04Sale price $6.83 -
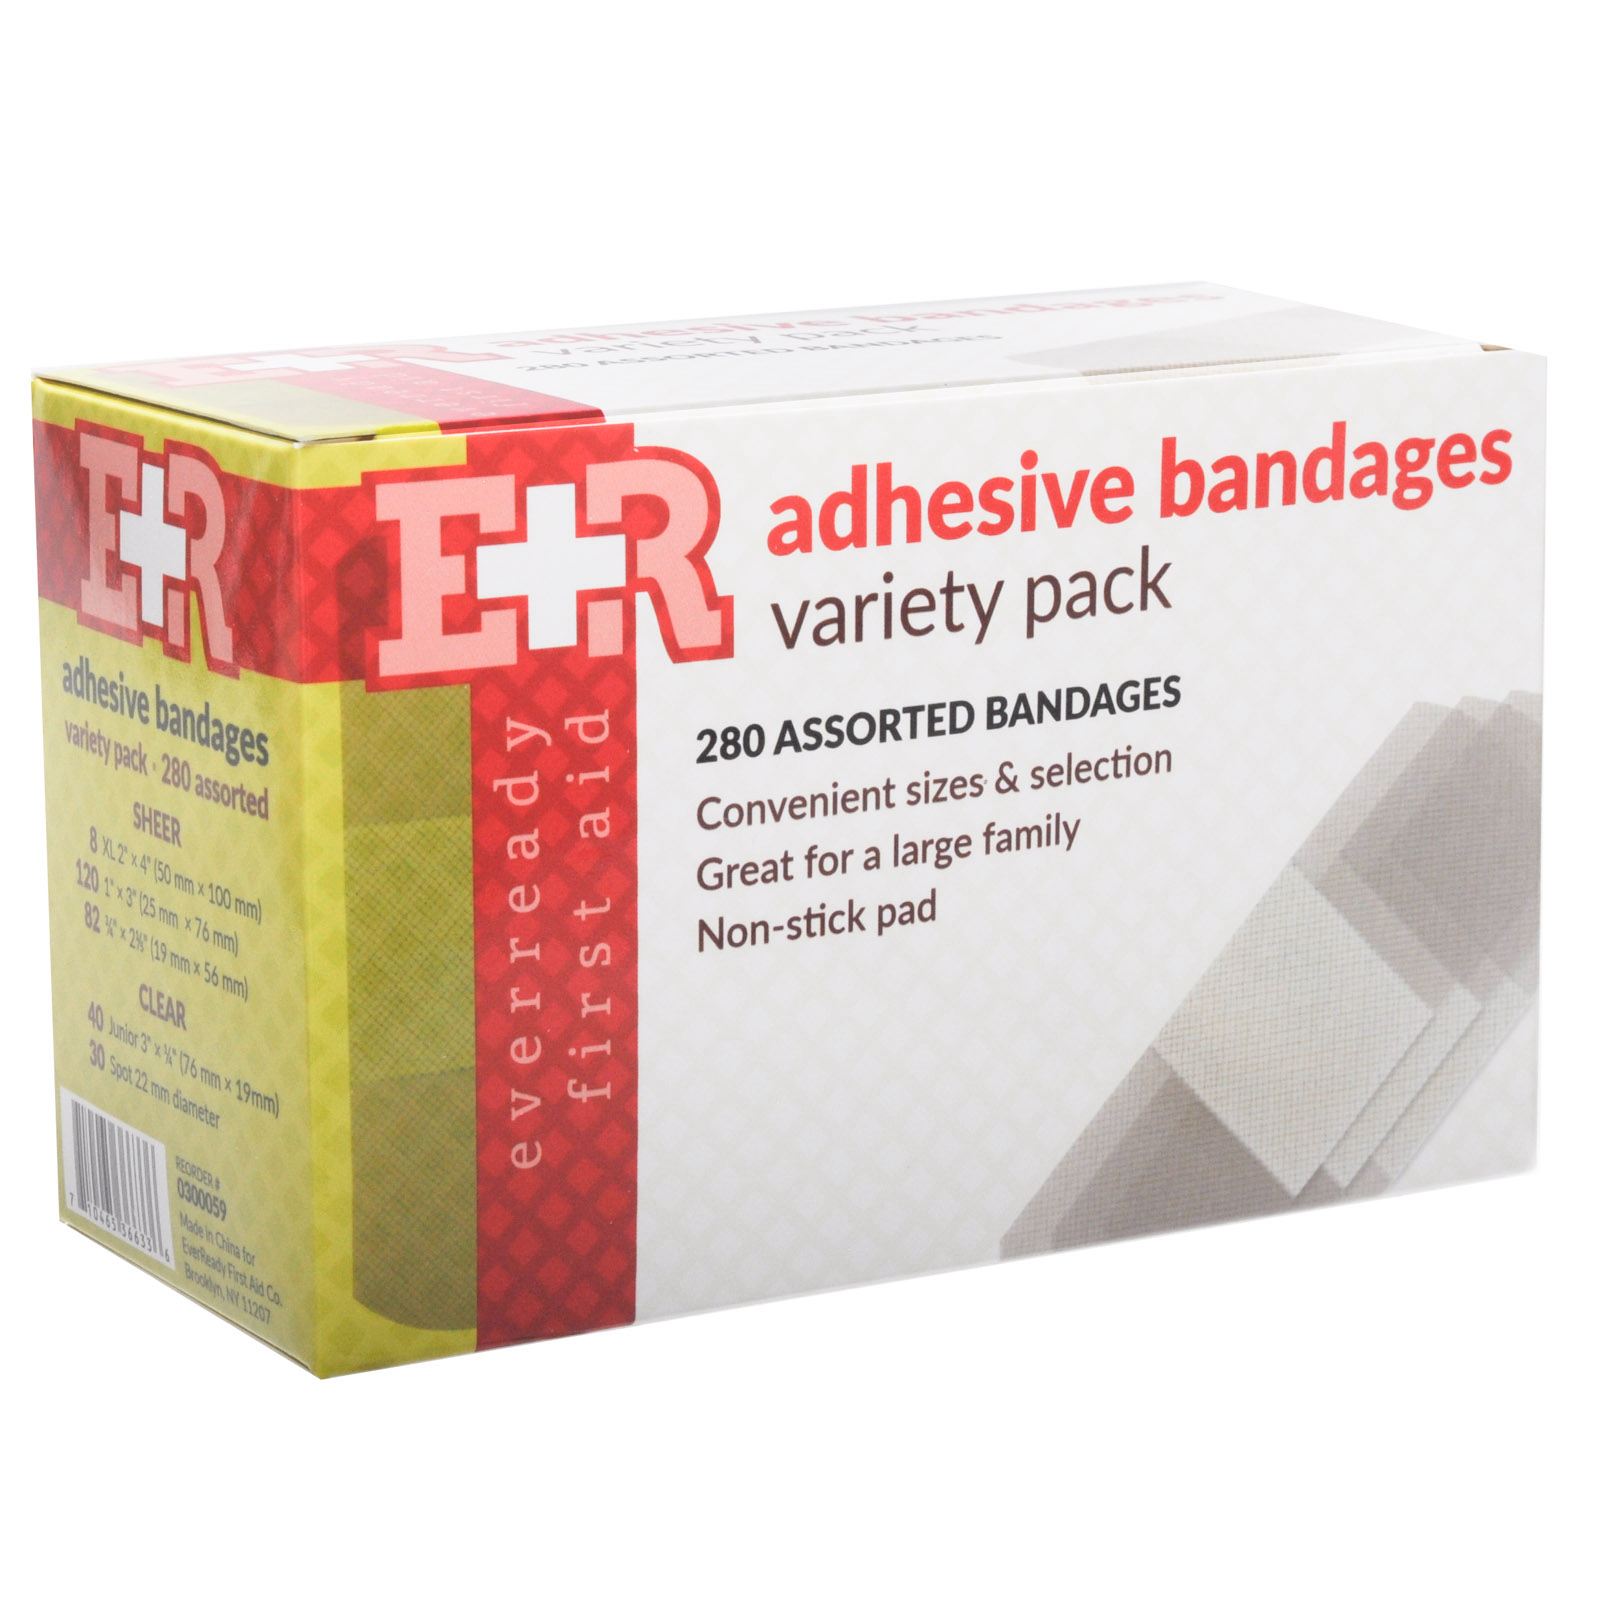
Adhesive Bandage Variety Pack (280/Bx)
Out of stockRegular price $5.10Regular priceUnit price per$6.00Sale price $5.10 -
Medifirst Bandage First Aid Kit Refill Pack
Out of stockRegular price $23.56Regular priceUnit price per$27.72Sale price $23.56 -
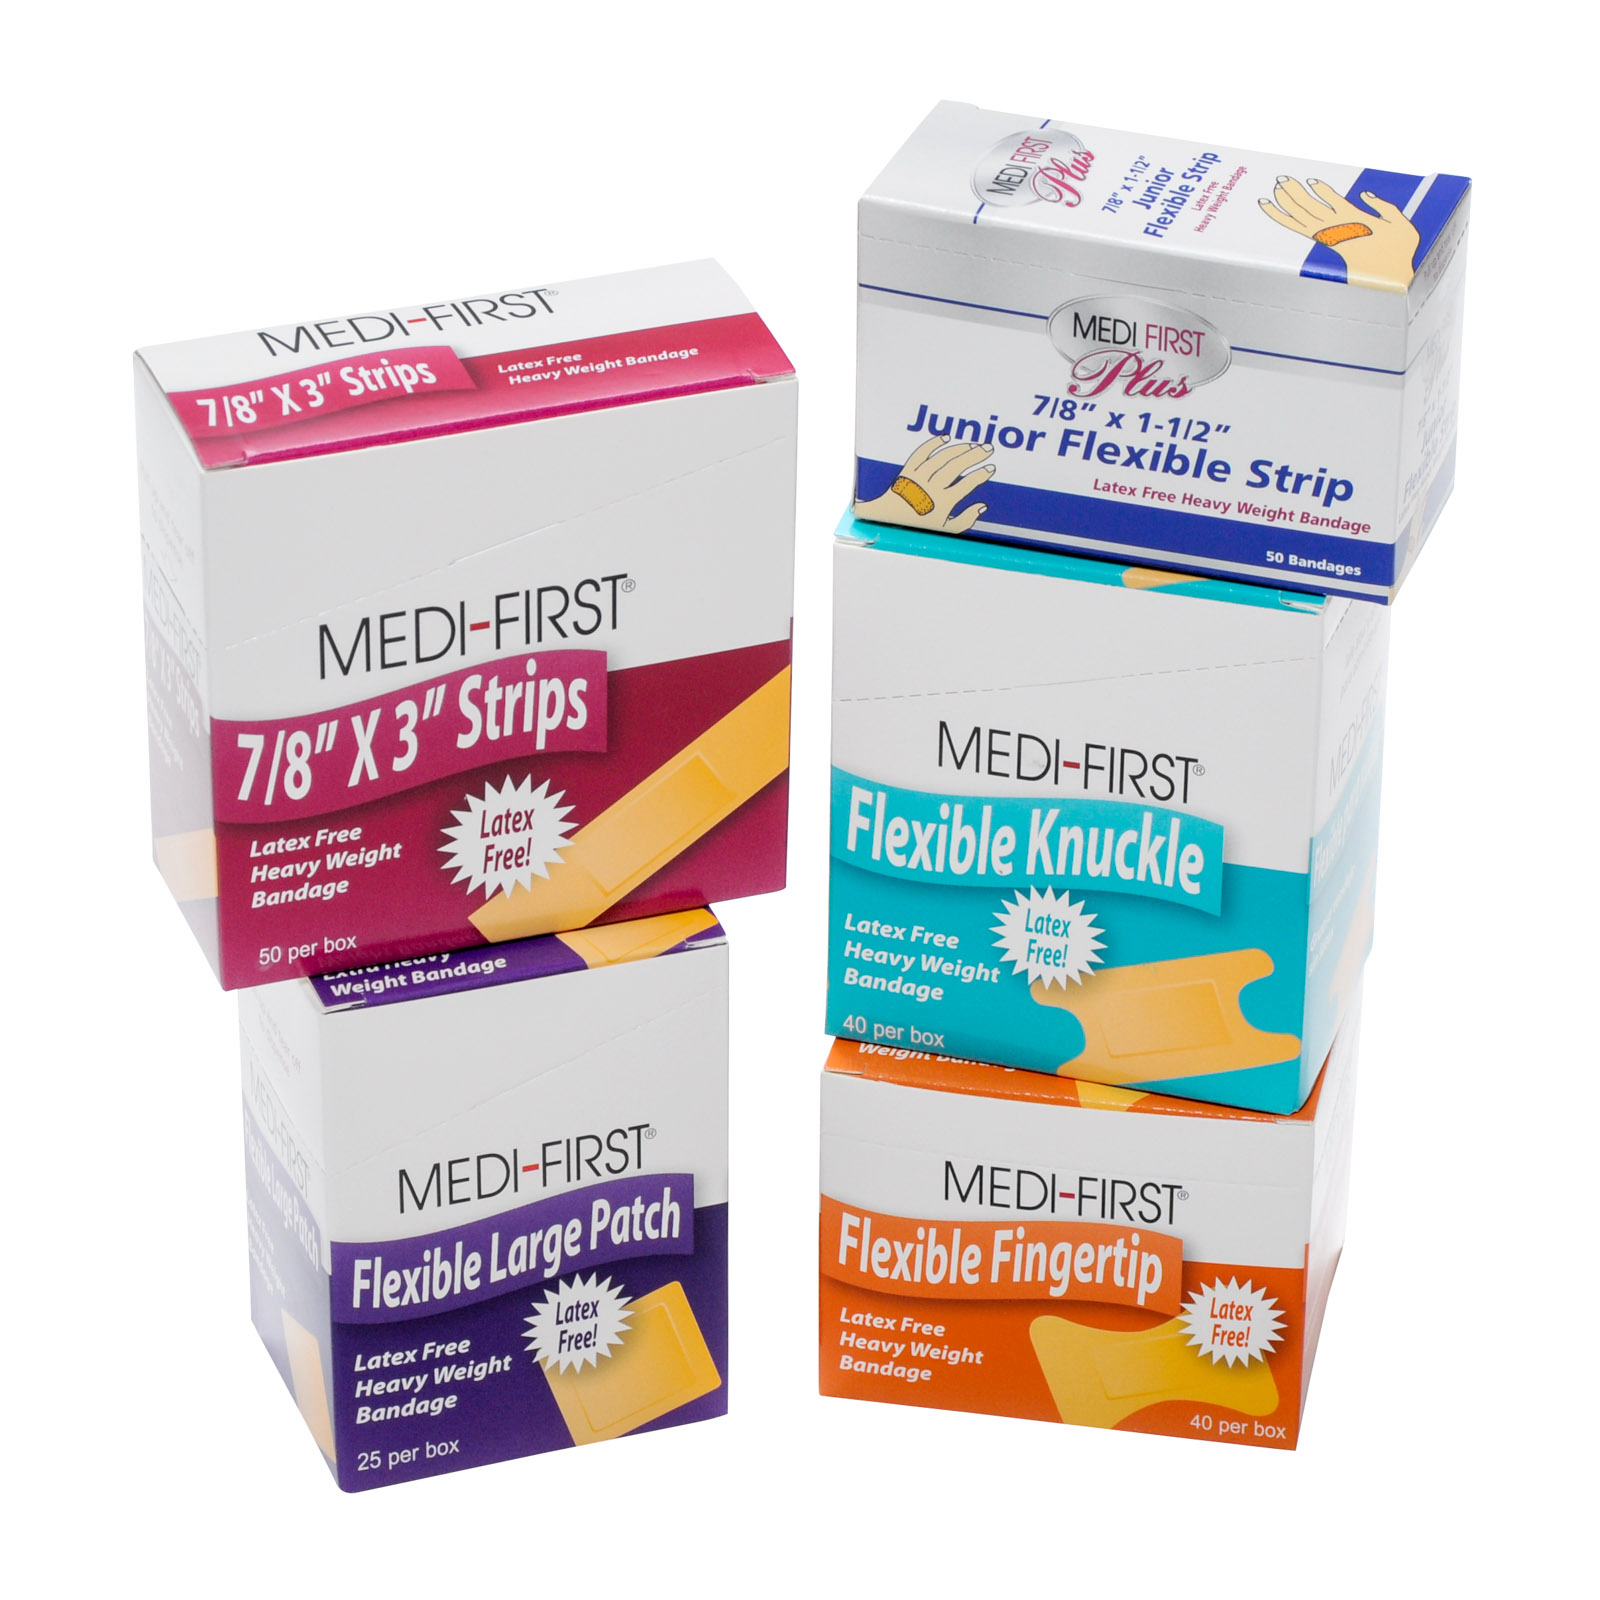
Bandage Shapes Variety Pack
Out of stockRegular price $3.79Regular priceUnit price per$4.46Sale price $3.79